
I've been reading more and more about wet palettes lately, bit very little from people I know, so I thought I'd share what I'd learned.
Firstly, what's it for? This took a lot of digging, which I considered odd; if anyone was going to all this effort there should be a goal or reward. The purpose of the wet palette is simply keeping paints moist. This in itself took me way too long to adapt; I have been painting undiluted for ages. I think a few attempts ended in overdilution early on, which put me off it for ages. Somehow I eventually got it right, and I realise how necessary it is!
So, the wet palette keeps your paint moist. The trick is that the palette surface (bakers' parchment) is slightly porous, so allows some water to seep through. This gives you excellent control over you moisture: just dip into you blob for thick paint, or spread some out for thinner paint.
However, the main benefit, by far, is paint lifetime. I don't own a lot of paints; I mix a lot of my own colours. I find myself remixing a tone several times for a large batch session, and that's usually because it dries out. The wet palette will keep a blob of paint alive for a ridiculously long time. My paints have kept for more than 24 hours, but I've read that a sealed wet palette will last indefinitely.
Getting your hands on this technological marvel is easier than you think. You can buy them, but I've not tried one so cannot recommend one. They're more easily made out of an old plastic lid, some tissue/toilet/kitchen paper (best use new stuff here) and some bakers' parchment. I'm still experimenting with this part.
 |
| Step One. Get a |
- Find a suitable palette. You need something with some sides so that water won't flow out the edges. Take-away lids are great; keep one next time you have some Indian take away (not Thai, that would never work).I used the lid of a cottage cheese pot. The size will depend on how much you like to mix at any one time.
- Cut out some toilet/tissue/kitchen paper to fit into your lid. Use the lid as a template. A few layers is good here, it will hold more water. Put them into your lid, moisten, then tuck in the edges.
Step two - Again, use the lid as a template to but out some peices of bakers' parchment. You'll want a few peices as these are going to be replaced more often than any other part. Mine are quite small, so I swap reasonably often. there is a bit of confusion as to what bakers' parchment is. I read it was easily available at a grocery store, but I didn't find any at my local supermarket. I figured that considering I don't call them grocery stores, perhaps I don't call it bakers' parchment. The article I read was very specific on this, but I've been using baking paper and it's been fine.Perhaps nothing too water-proof; that wouldn't allow water to seep through.

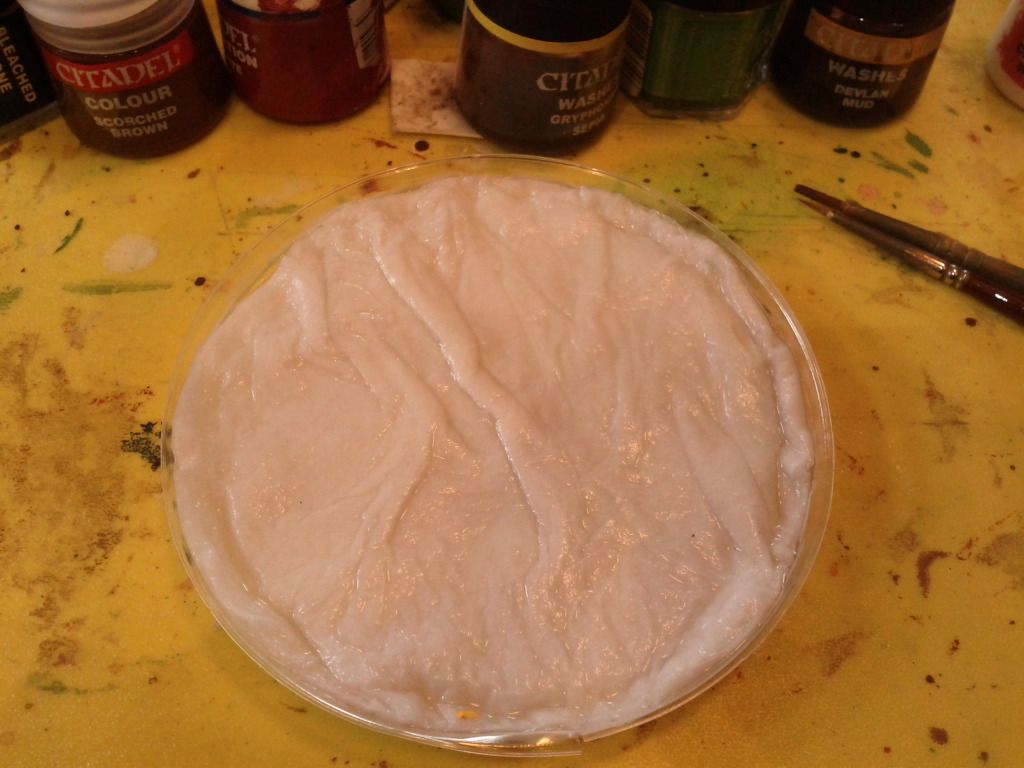
Step three - Make sure there is slightly more water in your tissue paper than it can hold, then put the peice of bakers' parchment down. It will probably curl- just flip it over.
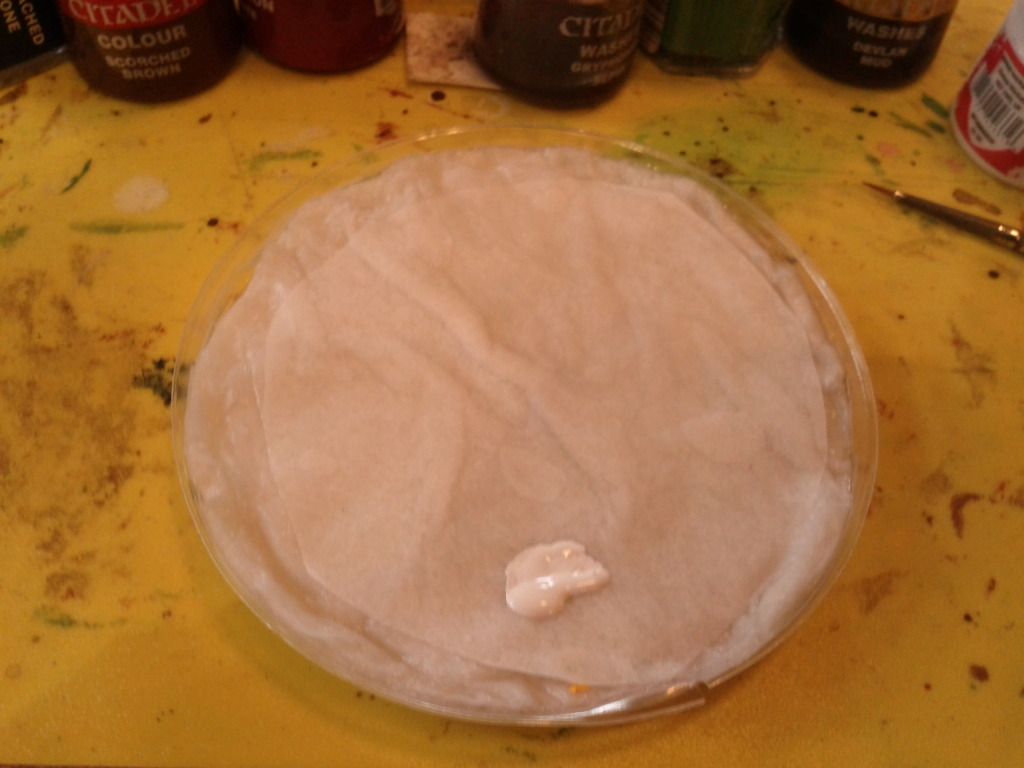 Viola! Wet palette. Put a blob of paint down (you can use it more sparingly now, as you will probalby use the entire blob before it dries) and get going. A brilliant bit of 'tech' for any painter. Enjoy!
No comments:
Post a Comment